

How to remove an old EN flange?
Jul 01, 2025
Hey there! I'm a supplier of EN Flanges, and today I'm gonna share with you how to remove an old EN flange. Whether you're looking to replace a worn - out flange or make some system upgrades, knowing the right way to remove it is crucial.
Why Remove an Old EN Flange?
Before we jump into the removal process, let's quickly talk about why you might need to remove an old EN flange. Over time, flanges can experience wear and tear due to constant pressure, temperature changes, and chemical exposure. Leaks can occur, which not only waste resources but can also pose safety risks. Sometimes, you might want to switch to a different type of flange that better suits your current needs, like an EN1092 Standard Steel Plate Flange.
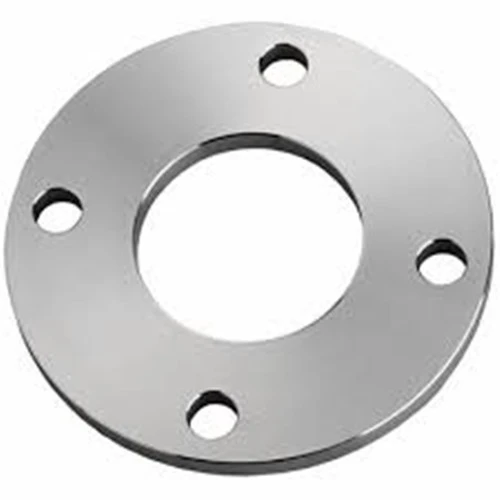

Tools You'll Need
To successfully remove an old EN flange, you'll need a few essential tools. First off, a good set of wrenches is a must. You'll want both open - end and adjustable wrenches to fit different bolt sizes. A socket wrench set can also come in handy, especially if the bolts are in hard - to - reach places. A hammer is useful for gently tapping the flange to loosen it up. You might also need a chisel to break any stubborn rust or sealant that's holding the flange in place. And don't forget safety gear like gloves and safety glasses to protect yourself from sharp edges and flying debris.
Step - by - Step Removal Process
Step 1: Shut Down the System
Safety first! Before you start removing the flange, make sure to shut down the system it's part of. This could be a pipeline carrying fluids or a mechanical system under pressure. Isolate the area by closing valves and turning off any power sources. This will prevent any unexpected releases of pressure or fluid that could cause injury.
Step 2: Drain the System
Once the system is shut down, you need to drain any remaining fluid from the section where the flange is located. This can prevent spills and make the removal process cleaner. Place a suitable container beneath the flange to catch the drained fluid.
Step 3: Remove the Bolts
Now it's time to get to work on those bolts. Start by using your wrenches to loosen each bolt. Turn the bolts counter - clockwise. If the bolts are rusted or stuck, you can spray some penetrating oil on them and let it sit for a few minutes to loosen the rust. Be careful not to over - tighten the wrench, as this could strip the bolt threads. Work your way around the flange, removing one bolt at a time. Keep the bolts in a safe place so you don't lose them.
Step 4: Check for Sealant or Gasket
After removing the bolts, take a look at the flange joint. There might be a gasket or some sealant between the two flanges. If there's a gasket, carefully remove it. You can use a chisel or a putty knife to gently pry it loose. If there's sealant, you might need to use a solvent to dissolve it. Make sure to follow the safety instructions on the solvent label.
Step 5: Separate the Flanges
Once the bolts and gasket are removed, you can try to separate the flanges. Start by gently tapping the flange with a hammer around the edge. This can help break any remaining bonds between the two flanges. If the flanges are still stuck, you can use a pry bar to carefully wedge it between the flanges and apply some pressure to separate them. Be careful not to damage the flange surfaces during this process.
Step 6: Inspect the Flange and Pipes
After separating the flanges, take a close look at both the flanges and the pipes they were attached to. Check for any signs of damage, such as cracks, corrosion, or warping. If the flange or pipes are severely damaged, you'll need to replace them. If they're in good condition, you can clean them up for future use or reuse with a new gasket.
Tips for a Smooth Removal
- Patience is key: Removing an old flange can be a time - consuming process, especially if the bolts are stuck. Don't rush it; take your time to avoid damaging the components.
- Keep things organized: As you remove the bolts and other parts, keep them organized in a container or a tray. This will make it easier to reassemble everything later if needed.
- Clean as you go: While removing the flange, clean up any debris, rust, or old sealant. This will make it easier to install a new flange later.
Common Problems and Solutions
- Stuck Bolts: If the bolts are stuck, as mentioned earlier, you can use penetrating oil. Another trick is to heat the bolt slightly with a torch. The heat causes the metal to expand, which can break the rust bond. Just be careful not to over - heat the bolt, as this can damage the flange.
- Seized Flanges: Sometimes, the flanges can be so stuck together that they seem impossible to separate. In this case, you can try using a hydraulic spreader. This tool can apply a large amount of force to separate the flanges without causing too much damage.
Choosing a New EN Flange
If you've decided to replace the old flange, you'll need to choose the right one. There are different types of EN flanges available, like the EN 1092 - 1 PN10 Steel Flange and Plate Flange. Consider factors like the size, pressure rating, and material of the flange. Make sure the new flange is compatible with your existing system.
Conclusion
Removing an old EN flange is a task that requires some knowledge and the right tools. By following the steps I've outlined above, you can safely and effectively remove an old flange. Whether you're just doing some maintenance or upgrading your system, a proper removal process is the first step to a successful installation of a new flange.
If you're in the market for high - quality EN flanges, I'm here to help. I'm a trusted EN flange supplier, and I can offer you a wide range of options to meet your needs. Feel free to reach out to me to discuss your requirements and get the best flange solutions for your project. Let's work together to ensure your systems run smoothly!
References
- "Pipe Fitting Handbook"
- Manufacturer's guidelines for EN flanges