

How to install an EN flange correctly?
Dec 02, 2025
As a reliable EN flange supplier, I understand the importance of correct installation for ensuring the optimal performance and safety of piping systems. In this blog post, I'll share comprehensive guidelines on how to install an EN flange correctly, covering everything from preparation to final checks.
1. Preparation
Before you start the installation process, it's crucial to make thorough preparations. First, ensure that you have all the necessary tools and materials at hand. This includes wrenches, gaskets, bolts, and a torque wrench for accurate tightening. The gaskets should be compatible with the fluid or gas that will flow through the pipeline and the operating conditions such as temperature and pressure.
Inspect the EN flanges carefully for any signs of damage, such as cracks, dents, or scratches. Even minor defects can lead to leaks or reduced performance. Check the dimensions of the flanges to make sure they match the specifications of your piping system. If you're using different types of EN flanges like the EN1092 - 1 PN16 Forged Carbon Steel Flange, ensure that they are suitable for the intended application.
Clean the flange faces thoroughly to remove any dirt, rust, or debris. A clean surface is essential for a proper seal. You can use a wire brush or a suitable cleaning solvent to achieve this. Also, make sure the pipe ends are cut square and free from burrs.
2. Positioning the Flanges
Once the preparation is complete, it's time to position the flanges. Align the flanges with the pipe ends accurately. The bolt holes in the flanges should be perfectly aligned to allow for easy insertion of the bolts. Use a flange alignment tool if necessary to ensure precise alignment.
When positioning the flanges, pay attention to the orientation. Some EN flanges may have a specific direction or marking that indicates the correct installation orientation. For example, certain flanges may be designed for a particular flow direction, and incorrect orientation can affect the performance of the system.
3. Installing the Gaskets
Gaskets play a vital role in preventing leaks between the flanges. Select the appropriate gasket material based on the operating conditions of your system. Common gasket materials include rubber, cork, and metal. Place the gasket on one of the flange faces, centering it carefully. Make sure the gasket covers all the bolt holes and seals the entire flange face.
Avoid stretching or compressing the gasket during installation, as this can lead to an uneven seal. If the gasket has a specific side that should face the fluid or gas, ensure that it is correctly positioned.
4. Inserting the Bolts
After the gaskets are in place, insert the bolts through the bolt holes in the flanges. Use the correct size and type of bolts as specified in the flange installation instructions. The bolts should be long enough to protrude through the nut by at least two threads but not so long that they interfere with the operation of the system.
It's a good practice to lubricate the bolt threads with a suitable lubricant to prevent galling and ensure smooth tightening. This also helps in achieving accurate torque values.
5. Tightening the Bolts
Tightening the bolts correctly is crucial for a proper seal. Use a torque wrench to apply the specified torque to each bolt. The torque value depends on the size of the bolts, the type of flange, and the operating pressure of the system. Follow the manufacturer's recommendations for the correct torque values.
Tighten the bolts in a criss - cross pattern to ensure even distribution of the load across the flange face. Start by tightening all the bolts finger - tight, and then begin applying the torque in increments. For larger flanges, it may be necessary to use a sequence of tightening steps to achieve the desired torque evenly.
6. Final Checks
After tightening all the bolts, perform a final visual inspection of the installation. Check for any signs of misalignment, uneven gasket compression, or loose bolts. Make sure the flange faces are in full contact with the gasket and that there are no gaps.
Conduct a pressure test to verify the integrity of the flange connection. Gradually increase the pressure in the system to the operating pressure and monitor for any leaks. If a leak is detected, identify the source and take appropriate corrective actions, such as retightening the bolts or replacing the gasket.
Different Types of EN Flanges and Their Installation Considerations
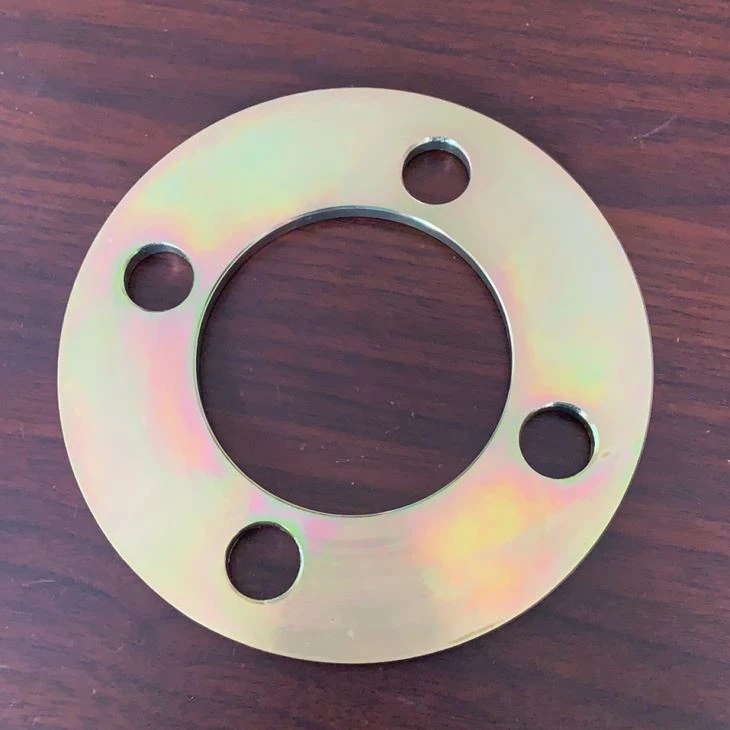
There are various types of EN flanges, each with its own installation requirements. For example, Plate Flange is a common type. Plate flanges are relatively easy to install but require careful alignment to ensure a proper seal. They are often used in low - pressure applications.
Another type is the SABS 1123 Flanges, which are designed according to specific South African standards. When installing SABS 1123 Flanges, it's important to follow the relevant standards and guidelines to ensure compliance and safety.

Conclusion
Installing an EN flange correctly is a critical process that requires attention to detail and adherence to best practices. By following the steps outlined in this blog post, you can ensure a reliable and leak - free flange connection in your piping system.
If you're in the market for high - quality EN flanges or need more information about installation and application, we're here to help. Our team of experts can provide you with professional advice and support. Contact us for more details and let's start a fruitful business partnership today.
References
- EN 1092 - 1:2019, Flanges and their joints - Circular flanges for pipes, valves, fittings and accessories, PN designated - Part 1: Steel flanges
- SABS 1123: South African Standard for flanges
- Manufacturer's installation manuals for various EN flanges